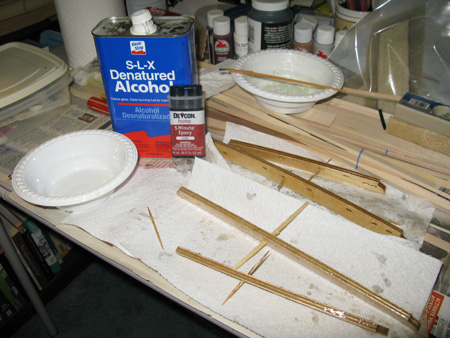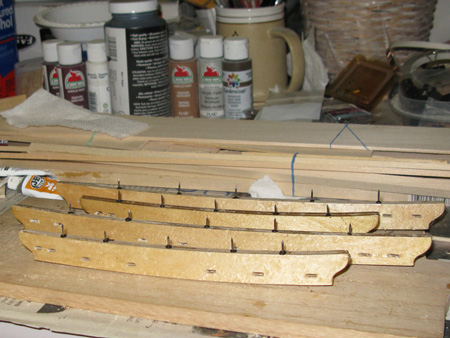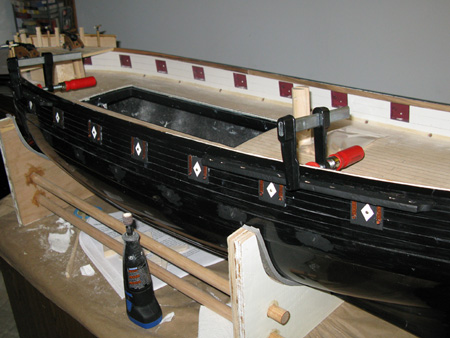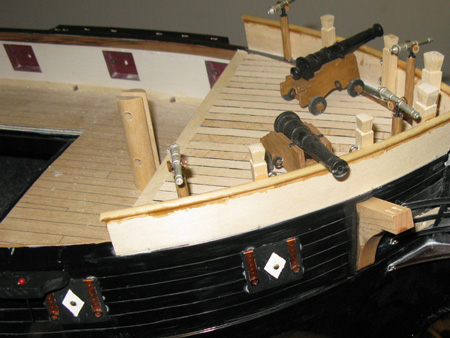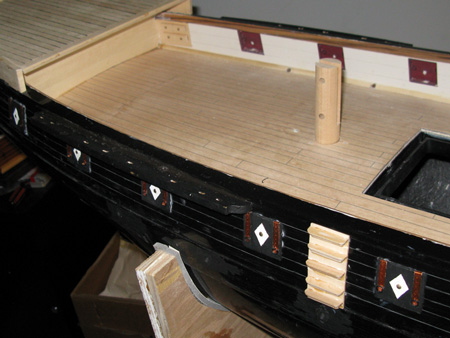
Theresa Marie Model Ship ProjectWeek 23: Channels, steps, catheads (Jan 28- Feb 3, 2013) To prep for painting the hull I'm trying to attaching most of the parts that will need to be glued on. Fore and Main Channels. Because of the impact abuse these take I took Dan's advice and coated the plywood pieces with a layer of epoxy. I couldn't easily find the 15 minute epoxy he used so I ended up making a mix of 5 minute Devcon clear epoxy with equal portions of denatured alcohol. I brushed this mix on with a cheap paint brush until the pieces were good and saturated. Seemed to work well, as the alcohol appeared to stretch the 5 minute hardening time a bit. A screwdriver proved handy for cleaning out extra epoxy from the channels' slots. After painting them black I used five nail pins and epoxy to secure them in place on the well scored hull. Moments after attaching the last channel I suddenly realize that some of their slots are slightly overlapping some of my gun port lids. Arg. I thought I had very carefully measured and double checked the positions of the channels according to the plans, but didn't think to make sure the actual slots were completely clear. So I guess I'll need to extend a few of the slots a smidge. Ah well. FYI, there's a gradual 1/4 inch tapering of the positions of the gun ports from the top rail across the 43 inch long gun row. According to the SC&H instructions the main channel should hang below the tops of the open gun ports #7-9. Since that won't work with gun port lids, I decided to place my lids symmetrically in line with the second 10mm hull plank. Which means some my gun port lids are not perfectly align with the actual gun port openings in the bulwarks. I'll be curious to see if anyone ever notices. Steps. I discovered that scupper #5 was right where the bottom two steps were suppose to attach. So I made some modifications to the plans. First I glued on a basswood "ladder board" with the step holes already drilled in. The holes were then drilled into the hull and the steps pinned in place. I like this look better than having the steps directly on the hull, plus it was easier for me to line everything up. I decided to just use five steps instead of seven by omitting the more vulnerable bottom two. This leaves me a couple of extras incase one breaks off, which appears to be common. I guess the Theresa Maries will just have to step into the scupper to reach the ladder. To finish I scored some plank lines onto the ladder board. Ready for painting. Catheads. I was dubious of successfully cutting the three tiny slits these pieces are apparently suppose to have at the head. So instead I just drilled two pairs of holes for the future ropes and cut out shallow grooves connecting them. I pinned them in place with two nail pins and epoxy. Good enough. 5th Naming. As a way of saying thanks for all the help and inspiration he's been, Dan of course gets the 1st Lieutenant spot on the Theresa Marie. Many thanks Dan. |
